
Change Konica Printing Defaults on Windows 7 and 10
This Tutorial will help you change the Konica Printer’s defaults on the client’s Endpoint. This Guide uses Windows 10, but can be used for Windows 7 as well.
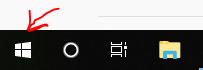
1. First, press the home button on the bottom right hand corner.
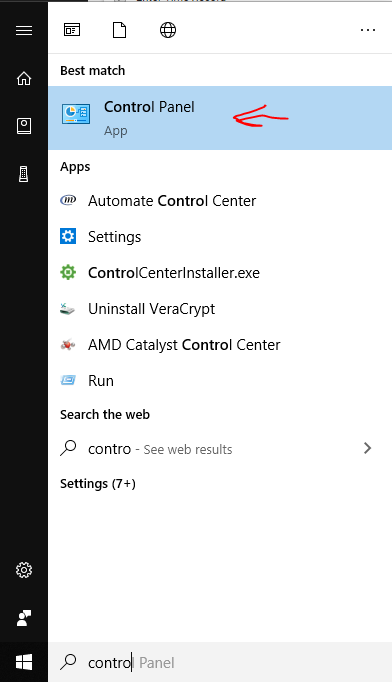
2. Type “Control Panel” and press “Control Panel” or Enter on your keyboard.
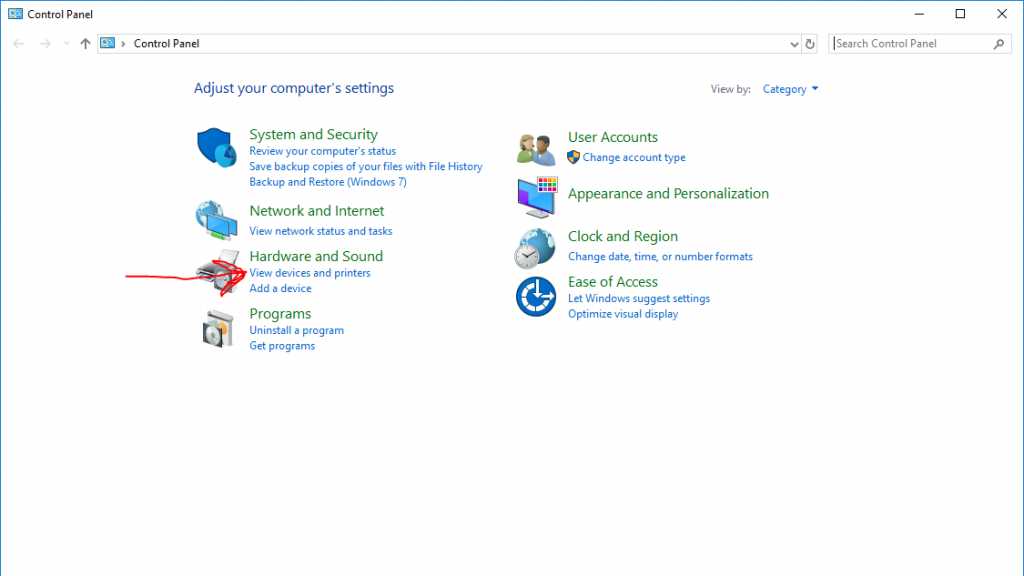
3. Next, Locate and Click “View devices and printers”
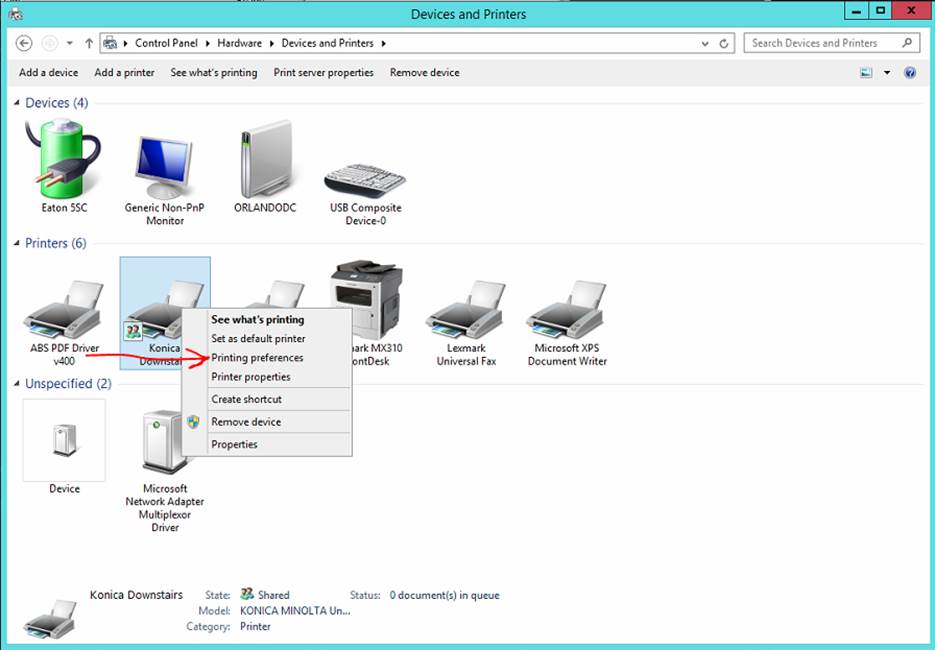
4. Locate the printer that you are using. This will be either “Konica Downstairs” or “Konica Upstairs”
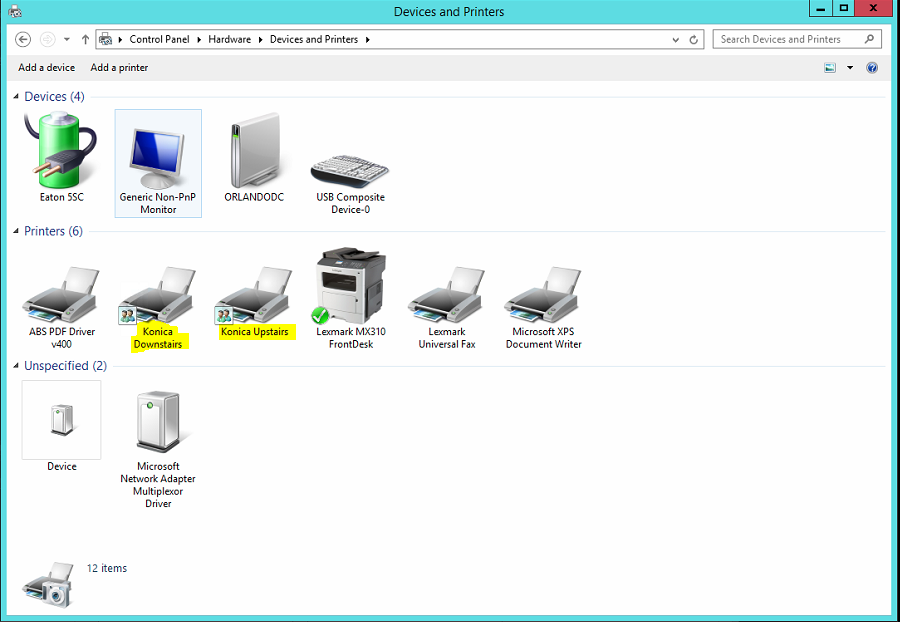
5. Right click the printer and press “Printing preferences”
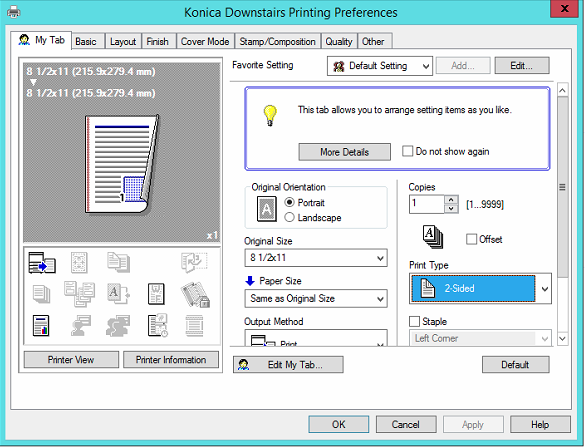
6. You will notice the printing preferences screen will come up. Unlike the normal screen, there is a greyed out “Apply” button on the bottom right hand corner of this window.
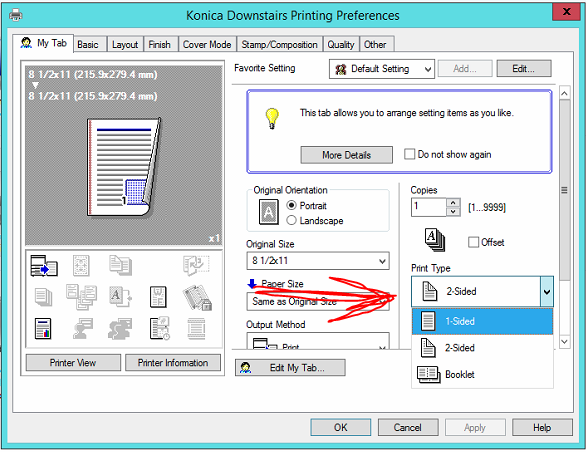
7. To change the default of the setting you want, locate that setting and change it. In this case we will change the default from 2-sided, to 1-sided.
8. Click one sided, then press the Apply button on the bottom.
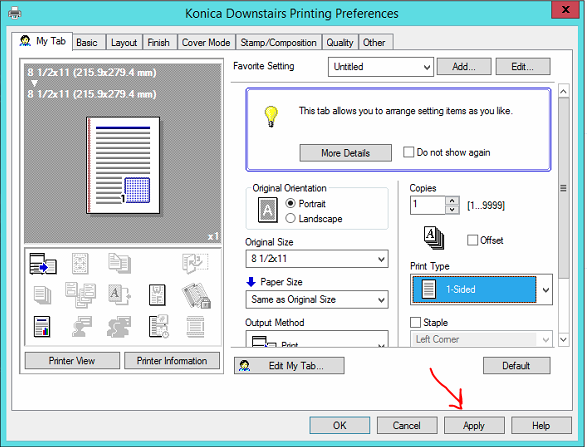
Once clicked, the default has been set. You may now exit and print as you normally would. Unlike before, you will not need to change from 2 sided to 1.
9. Have a great day!


Leanora Mark Vitkun
I really enjoy the article post. Much thanks again. Really Great.
Paddy
Hello my friend! I wish to say that this article is awesome, great written and include approximately all vital infos. I would like to see extra posts like this.